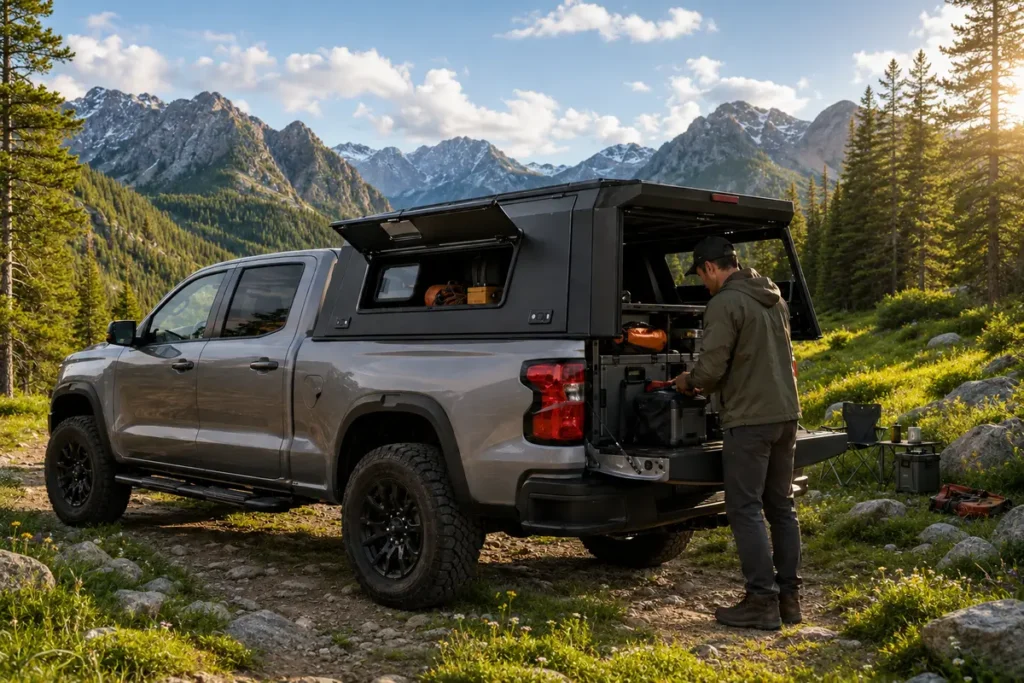
This guide explains how to install a canopy over a truck bed, from checking vehicle compatibility to inspecting the finished fitment. It covers rigid aluminum truck canopies used for work, everyday cargo and outdoor equipment.
A successful installation starts with the correct canopy, mounting kit and instructions for the truck. Bed dimensions, rail profiles, liners and accessories all affect the fit. For the broader buying decision, read our high rise truck cap buyer’s guide. Use the installation instructions for your selected model to determine the mounting positions, tightening sequence and torque values.
Truck Canopy Installation at a Glance
The main checkpoints are:
- Confirm the vehicle application and delivery format.
- Check the mounting kit, seals, tools and fitting instructions.
- Prepare the truck bed and sealing surfaces.
- Lift, position and align the canopy using the approved handling method.
- Secure the canopy with the specified mounting hardware.
- Check doors, locks and any electrical equipment.
- Inspect the installation and record the handover details.
The exact order can vary between fitting systems. A preassembled canopy and a modular canopy also involve different amounts of work before they reach the truck.
1. Confirm Vehicle Fitment Before Unpacking
Match the canopy model to the truck’s make, model year, body style and bed size. A similar overall bed length does not establish compatibility: front-wall height, rail shape, tailgate geometry and mounting interfaces also matter.
OFFROADCAP’s product pages provide vehicle-specific starting points:
| Canopy model | Listed application | Product information |
|---|---|---|
| OC10115 | Ford Ranger 2023+ | Ford Ranger canopy |
| OC20109 | Ford F150 2015+ 5.5FT | Ford F150 5.5FT canopy |
Confirm the current application for your vehicle’s market and configuration before ordering. Send the supplier photographs of the bed rails, front wall, tailgate and any existing accessories. Include a drop-in liner, rail caps, cargo tracks, tie-down fittings or storage system in the discussion.
Also establish whether the canopy arrives assembled or requires panel assembly. Assembly time and vehicle fitting time should be listed separately when planning the job.
2. Check the Truck Cap Installation Kit
A truck cap installation kit should match both the canopy and the vehicle. Check its contents against the supplied parts list before moving the enclosure into position.
- Mounting components: the specified brackets or clamps, fasteners, washers and any application-specific spacers.
- Sealing components: the correct bed-interface seal and any additional profiles required by the fitting instructions.
- Electrical components: the appropriate harness and connectors when the ordered configuration includes lighting or powered locks.
- Instructions: the correct application guide, mounting layout, torque requirements and inspection schedule.
Prepare the tools listed in that guide, including a suitable torque wrench where torque values are specified. Hardware with the same thread size can still differ in length, grade or function, so replacement parts should be checked against the original specification.
For a used canopy, identify the product and its approved vehicle application first. Ask the supplier to confirm which mounting and sealing components can be reused and which need replacement.
3. Prepare the Bed and Truck Canopy Seal
Inspect the mounting surfaces before installation. Look for damaged rail sections, loose trim, old adhesive and accessories that interfere with the specified brackets. Clean the contact surfaces using a method suitable for the vehicle finish and the supplied seal.
The truck canopy seal at the bed interface has a different role from a door or window seal. It must suit the canopy base, the bed geometry and the intended mounting arrangement. Confirm where it starts and ends, how corners are handled and whether the front bed wall needs an application-specific seal or spacer.
If the instructions call for truck canopy seal tape, use the specified material, profile and placement. Adding extra layers changes the mounting gap and seal compression; it should not be used to compensate for an incorrect fit.
A drop-in liner or rail cap can change the contact surface. Resolve its compatibility with the supplier before positioning the canopy. Keep any designated drainage paths clear during sealing.
4. Lift and Align the Canopy
Plan the lift around the complete canopy, its dimensions and the available workspace. Confirm the approved lifting points and the required assistance or lifting equipment. Review our truck canopy weight guide when comparing the enclosure’s net weight, shipping weight and configured weight.
Position the vehicle on a suitable level surface and keep the loading area clear. Handle the canopy at the points identified in its instructions, protecting the finish, glass and seals throughout the move.
Before final fastening, check that the base sits as specified, the side alignment is even and the rear opening works with the tailgate. Check cab clearance and the movement of each door. If the mounting points do not line up naturally, resolve the fitment issue before tightening the hardware.
5. Select and Secure Truck Canopy Clamps or Brackets
When choosing clamps for truck canopy installation, match the component to the complete mounting interface. The shape of the bed rail, the canopy base and the available contact area determine whether a particular clamp is suitable.
Truck canopy clamps are one mounting option. Other configurations use vehicle-specific brackets attached to designated mounting points. A no-drill installation still requires the approved hardware and the correct mounting locations.
Check that each specified bracket or clamp sits correctly against its intended support surfaces. Follow the installation guide for the number of mounts, their positions, the tightening sequence and torque. Recheck alignment and door operation as directed during fastening.
A generic workshop C-clamp should not replace the specified vehicle mounting component unless the canopy manufacturer explicitly approves it for that application. Likewise, adding more clamps or tightening harder does not establish a correct installation.
Record the fitted hardware and required torque values for the vehicle’s handover file. Obtain missing specifications from the supplier before completing the job.
6. Check Doors, Locks and Electrical Equipment
Open and close the rear door and each side door. Check latch engagement, lock operation, seal contact and clearance from nearby accessories. The doors should move through their intended range without being forced into alignment.
Where fitted, confirm that gas struts and hinges operate as intended. Check that the truck canopy door seal remains seated around the opening and is not pinched or displaced.
For lighting or central locking, use the wiring information and harness specified for the canopy and vehicle. Have the connections and cable routing checked by an installer familiar with the vehicle’s electrical system. Test each supplied function and make sure the wiring is protected from moving doors, sharp edges and cargo.
7. Inspect the Finished Installation
Complete the mounting checks in the fitting guide before the vehicle returns to service. Inspect fasteners, seal seating, doors, locks, tailgate clearance and any electrical equipment.
If a water check is part of the supplier’s procedure, follow its stated method. Inspect the bed interface, front corners, door surrounds and tailgate area to identify where water enters. Correct the relevant fitment or sealing issue before adding unapproved sealant.
Measure the finished vehicle height with any roof accessories included. Our high-rise vs. cab-high truck cap comparison explains how roof profile affects garage and covered-parking clearance.
Record the manufacturer’s follow-up inspection interval and give the owner the fitting guide, keys and care information.
What Dealers and Fleet Buyers Should Record
A consistent handover record helps support repeat installations and later servicing. Record:
- The vehicle application, canopy model and identification details.
- The mounting kit and installation-guide version used.
- The seal arrangement and any approved spacers or liner adaptations.
- The completed fastener, door, lock and electrical checks.
- The fitted accessories and their applicable load limits.
- The installation date, installer and follow-up inspection requirements.
Photographs of the mounting locations and finished sealing interfaces can make future support more efficient. For repeat orders, confirm that a change in truck generation, bed configuration or equipment has not changed the fitting requirements.
Frequently Asked Questions
How do I install a truck canopy without drilling?
Choose a canopy and mounting kit approved for a no-drill installation on the exact vehicle. The kit may use bed-rail clamps or brackets secured to designated vehicle mounting points. Follow that application’s instructions for preparation, positioning and fastening.
Can I install a truck canopy by myself?
Some preparation and fastening tasks may be completed by one installer, but lifting and positioning require a separate handling plan. Use the assistance or equipment specified for the canopy. A lightweight product description does not establish a suitable solo lifting method.
How many truck canopy clamps do I need?
Use the number and locations specified for the selected canopy, truck and fitting kit. There is no single clamp count that applies to every installation. Confirm the required hardware before starting the job.
How long does truck canopy installation take?
The estimate depends on delivery format, preparation, lifting arrangements, mounting hardware and electrical accessories. Ask for a time estimate for the complete job, with assembly and vehicle fitting identified separately.
Will new bed seal tape fix a leaking canopy window?
The bed-interface seal and truck canopy window seal protect different joints. Locate the entry point first. A window, door, panel joint or tailgate issue needs the appropriate inspection and replacement part; additional bed seal tape will not address every source of water entry.
Request Fitment Information for Your Truck
Start with the OFFROADCAP pickup canopy range, then confirm the fitting kit and delivery format for your vehicle. Provide the make, model, year, market, bed dimensions, liner details and planned accessories.
Send your vehicle and installation requirements to OFFROADCAP to discuss the applicable canopy, mounting components and information needed before fitting.