Truck canopy lights should help you find tools, read labels and load equipment after dark. A bright lamp above the rear door can still leave a side storage box in shadow. Start with the areas you need to see, then compare lamp placement, controls, electrical requirements and the installation details.
This guide explains how to plan LED lighting for a pickup canopy used for work, touring or mixed use. For the wider enclosure specification, read our high rise truck cap buyer’s guide. Confirm the lighting package separately: a canopy described as lighting-ready may need additional lamps, wiring or vehicle-side connections.
Plan Truck Canopy Lighting Around Three Access Zones
Walk around the truck with your normal cargo in place. Open each door and identify where you stand, what you reach for and which surfaces become difficult to see. An empty canopy can look well lit while the same enclosure, packed with cases and shelves, has several dark areas.
| Lighting zone | Main task | What to check in a sample |
|---|---|---|
| Rear loading area | Identify cases and load equipment through the tailgate | Whether the user or stacked cargo blocks the light |
| Side access and storage | Read labels and retrieve small tools | Visibility inside boxes and beneath shelves |
| Front of the bed | Locate equipment farthest from the rear opening | Whether the light reaches the front with the usual load installed |
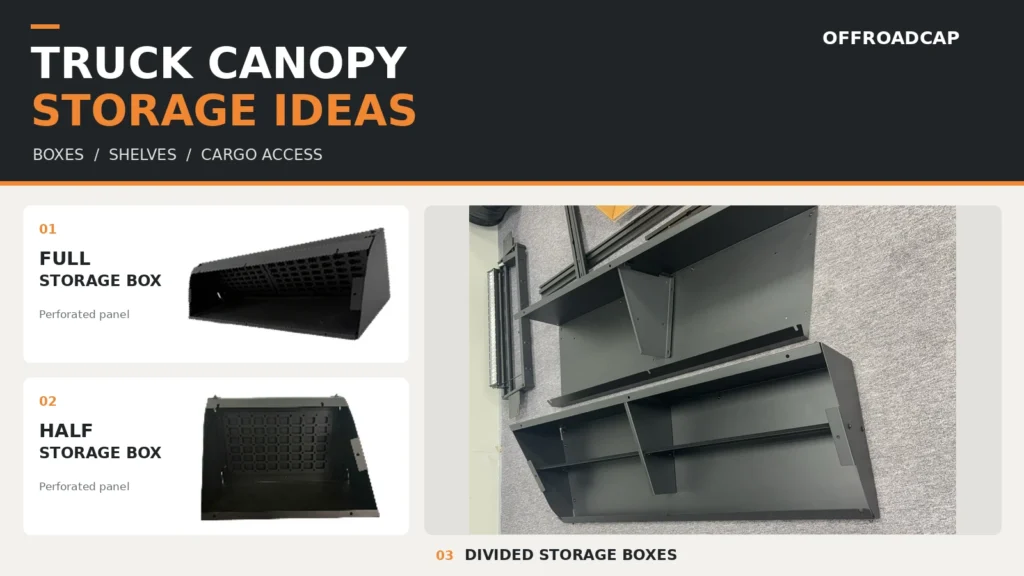
A central ceiling lamp is a useful layout to assess first. Additional side lighting may help where storage creates shadows. Compare arrangements in the actual enclosure before choosing the number of lamps. Our truck canopy storage ideas guide explains how boxes, shelves and overhead compartments affect usable space.
In a high-rise canopy, check the light at cargo level as well as near the roof. Extra internal height changes the distance between the lamp and the equipment being illuminated; a taller enclosure does not automatically need the same layout as a cab-high version.
Compare LED Truck Canopy Lights Beyond Wattage
Power consumption tells you how much electrical power a lamp uses. It does not, by itself, tell you how well a label inside a storage box will be illuminated. Ask for light-output information, the beam pattern and, where available, measured illuminance at a stated distance and position.
Lumens describe total light output, while lux describes illuminance on a surface. A lux figure needs its measurement conditions to be meaningful. For a practical comparison, use the same cargo layout, measurement points and ambient conditions for both lighting options. Also inspect glare from the normal standing position.
Manufacturer specifications show why a complete data sheet matters. HELLA lists its 007 373 interior lamp at 4.8 W, with a stated current of 0.40 A for the 12 V version, a 4,000 K color temperature and an IP40 rating. Its 343 606 lamp lists 1.8 W for the 12 V version and an IP6K9K rating. These are third-party specification examples, not OFFROADCAP product ratings or a brightness comparison.
When comparing truck canopy LED lights, request the exact variant’s voltage range, input power, light output, dimensions, mounting method, protection rating and switch arrangement. Do not assume a 12 V lamp also accepts 24 V unless its documentation confirms this.
Position Lamps Around Shelves, Doors and Cargo
Place a proposed lamp temporarily at the intended mounting location and test the view before permanent fitting. Use an installer-approved temporary supply or demonstration setup. Try the largest case you normally carry and the shelf arrangement you expect to order.
- Check shelf shadows. A roof-mounted lamp may illuminate the top of a shelf while leaving the compartment beneath it dark.
- Check body shadows. Stand at the rear and at each side opening. Your head or shoulders may block a lamp positioned directly behind you.
- Check moving parts. Open and close doors fully. Lamps and wiring need clearance from hinges, latches, gas struts and seals.
- Check cargo contact. Keep fixtures and cables clear of the route used to slide large cases into the bed.
A lamp on a moving door needs a cable arrangement designed for repeated movement. A fixed mounting position may simplify routing, but the right choice depends on the canopy structure and lighting task. Confirm approved attachment points rather than drilling through roof panels or door frames without guidance.
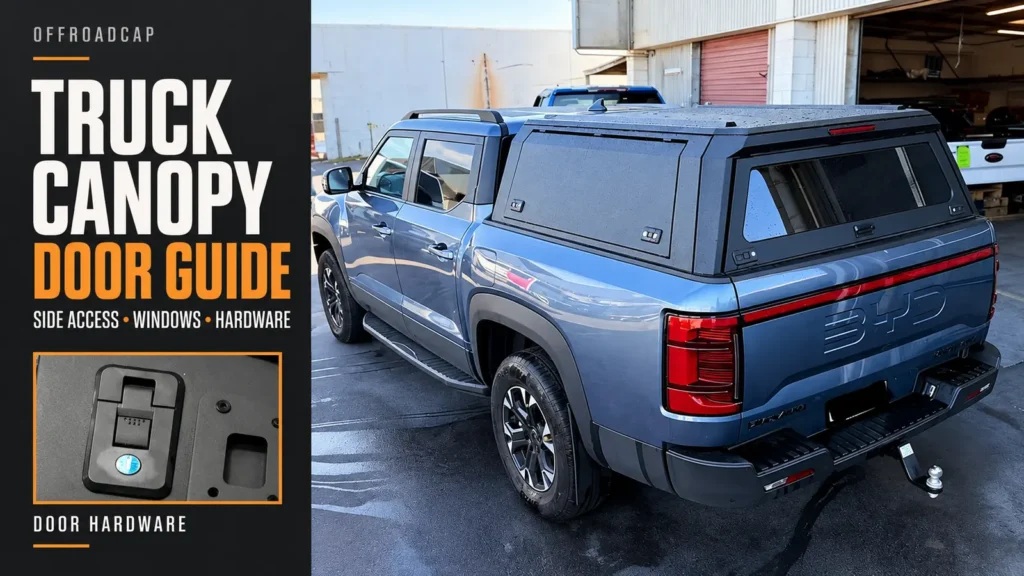
Review lighting alongside the canopy side-door and hardware configuration. The clear opening, open-door position and internal storage determine where a user can stand and reach.
Estimate Power Use Before Choosing the Supply
For a nominal 12 V DC lighting circuit, a simple planning calculation is current in amps = input power in watts ÷ supply voltage. Energy use in watt-hours = power × operating hours. The table below uses assumed total input powers and four hours of continuous operation.
| Assumed combined lamp power | Calculated current at 12 V | Energy over four hours | Equivalent charge at 12 V |
|---|---|---|---|
| 6 W | 0.5 A | 24 Wh | 2 Ah |
| 12 W | 1.0 A | 48 Wh | 4 Ah |
| 24 W | 2.0 A | 96 Wh | 8 Ah |
These are illustrative calculations, not measured OFFROADCAP consumption or battery-runtime promises. Actual use depends on the lamp’s input characteristics, supply voltage, dimming, controller consumption and any conversion losses. Use the selected lamp’s data sheet and measured current for the final power budget.
For occasional access, a suitable rechargeable lamp may provide a simple removable option. Longer parked use may justify a dedicated accessory supply. Confirm how that supply protects the vehicle’s starting reserve, and include other equipment sharing it. A battery’s nameplate capacity alone does not establish available lighting runtime.
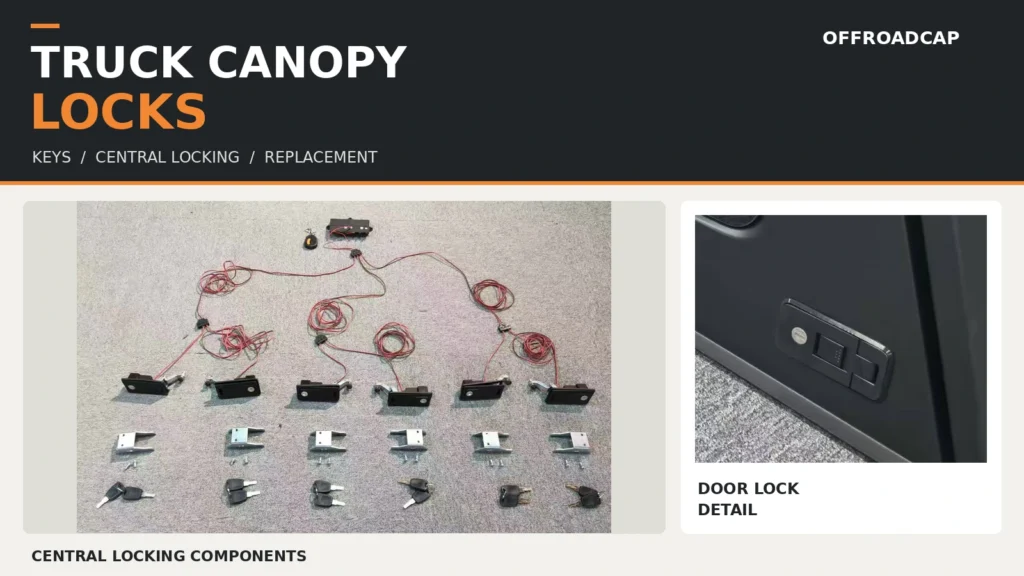
For distributors, identify whether the quotation includes only the lamp, a canopy-side wiring harness, or a complete vehicle connection kit. Record the connector type, polarity, switching arrangement and responsibility for final installation.
Specify Wiring, Controls and Moisture Protection
Electrical installation needs a circuit design matched to the vehicle, cable route and connected equipment. Agree on cable protection, strain relief, connectors, return path, circuit protection and accessible service points with the installer. Keep wiring away from sharp edges and moving hardware.
Cable length also matters. REDARC’s copper-wire voltage-drop guidance includes the return conductor in total length and identifies conductor area and temperature as relevant factors. A rear-mounted lamp therefore needs more assessment than simply checking its nominal voltage. Cable gauge and fuse selection should follow the complete automotive installation requirements.
Choose controls around the working routine. A manual switch should be reachable without unloading cargo. A door-triggered circuit should be checked with every relevant door and with any manual override. If a lamp is dimmable, confirm that the lamp, controller and wiring support that function together.
Inspect exposure with the doors open. A lamp protected by the enclosure during travel may be exposed to rain while equipment is being retrieved. Confirm the suitability of the complete assembly, including connectors and switches. A lamp’s protection rating does not automatically cover its wiring connections or the whole canopy.
Use the truck canopy seal guide when planning any cable entry through the enclosure. Interior task lights and the vehicle’s third brake light have different functions; confirm their connections separately.
Confirm the OFFROADCAP Interior Light Package
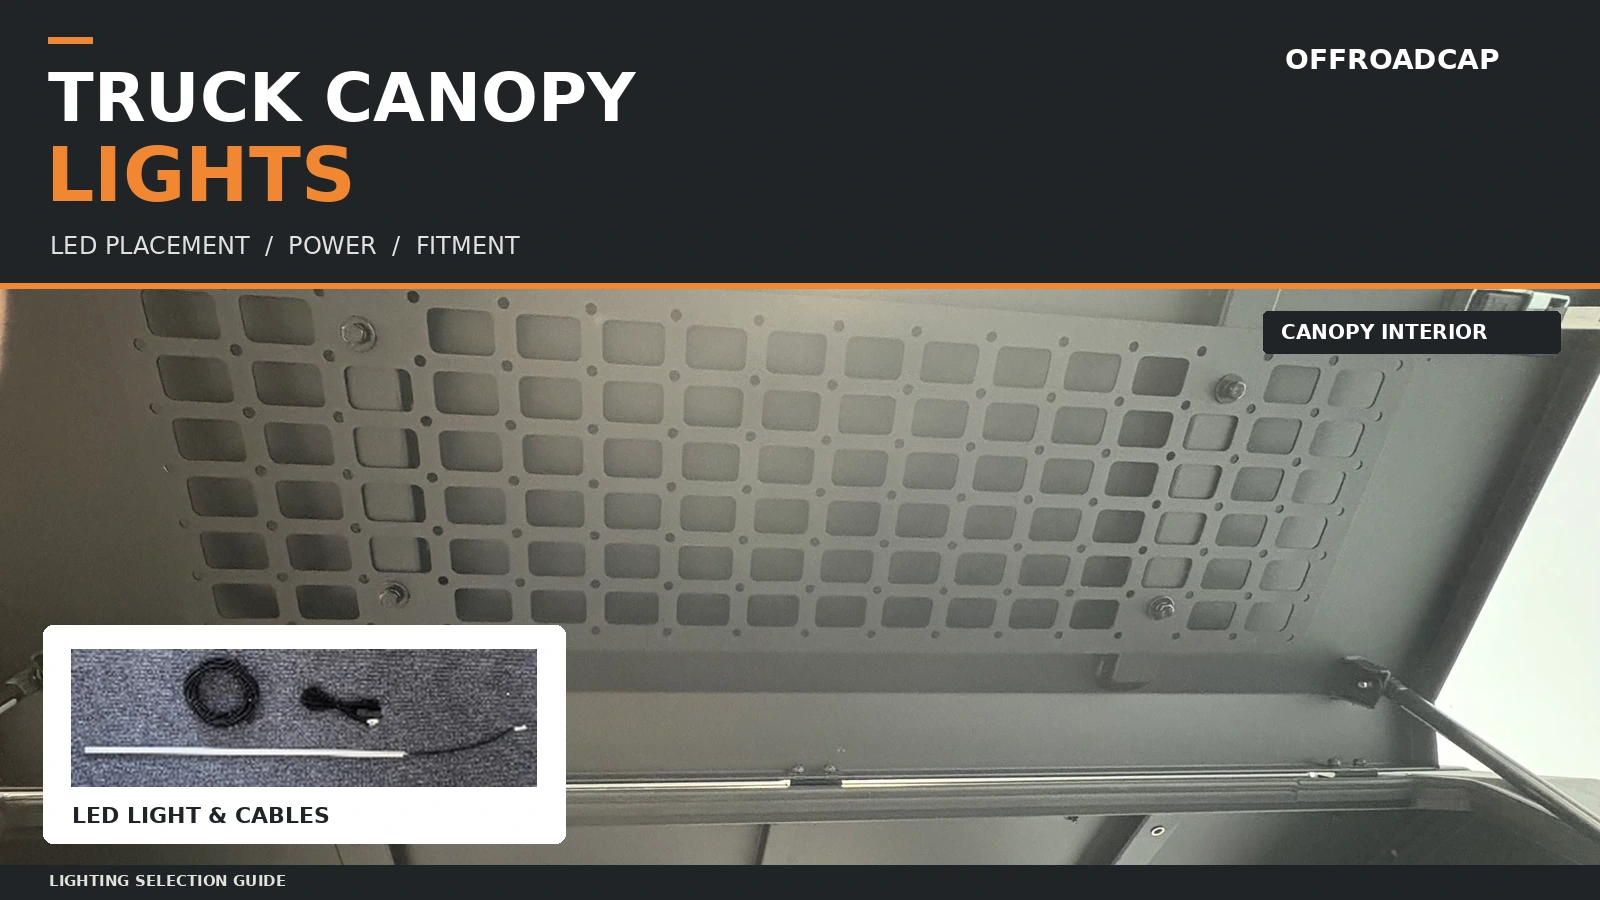
The OFFROADCAP Universal Interior LED Light listing identifies model PB30165, a 12 V DC supply and compatibility with most PB Series high-canopy models. It also describes shared-carton shipping with a canopy.
Confirm the exact canopy and mounting arrangement before ordering. The published listing does not provide a numerical wattage, lumen output or IP rating. Request those details for the quoted variant instead of applying the third-party examples above to this product.
When ordering truck canopy accessories as a package, separate factory-fitted equipment from parts supplied loose for installation. The order should identify lamp quantity, position, switch type, harness contents and any vehicle-side work still required. This also helps dealers explain what is included when customers compare truck cap accessories.
Use a Loaded-Canopy Acceptance Check
Before approving a sample or fleet specification, check the completed setup with representative cargo and record the configuration used.
- Confirm visibility. Read a label at the rear, inside each storage area and at the front of the bed.
- Operate the doors. Check clearance throughout their movement and inspect cable routing.
- Check controls. Test switches, door triggers and overrides supplied with the order.
- Verify electrical operation. Have the installer check supply voltage, current and the completed circuit against its design.
- Record the package. Retain lamp identification, wiring information, mounting details and replacement-part references.
Photographs should show both the lamp location and the cargo it illuminates. Keep camera settings comparable when judging different samples; an automatically brightened photograph is not a measured lighting test. If lux measurements are supplied, record the meter position and conditions.
Frequently Asked Questions About Truck Canopy Lights
Is one truck canopy light enough?
There is no fixed number for every canopy. Test rear loading, side storage and the front of the bed with normal cargo installed. Add or reposition lights where the working area remains obscured.
Can I use a 24 V light in a 12 V canopy circuit?
Only if its specified operating range includes the actual supply. Some lamp families have separate 12 V and 24 V versions; a shared appearance does not establish electrical compatibility.
Are all LED truck canopy lights suitable for rain exposure?
No. Check the exact lamp’s environmental rating, mounting instructions and connection protection. Select the complete assembly for its expected exposure with the canopy doors open.
Does lighting-ready mean lamps and wiring are included?
It needs clarification. Ask the supplier to list lamps, switches, harnesses, connectors and vehicle-side connections separately in the quotation.
Can interior lighting replace a third brake light?
No. Cargo illumination and brake signalling perform different jobs. Specify each function separately and confirm the vehicle-specific connection requirements.
Specify Lighting With the Complete Canopy Layout
Useful truck canopy lights put illumination where equipment is handled and connect to a supply suited to the intended use. Agree on the storage layout, lamp positions and electrical package together.
Send OFFROADCAP your lighting requirements with the vehicle make, model, year, cab type and bed size, plus your canopy layout, working routine, supply voltage and order quantity. Include storage-box locations and expected parked use so the proposed package can be reviewed before quotation.